
A band of four young musicians performs on stage under a blue tent, with one female vocalist in a leopard print top and fishnet stockings, a shirtless male guitarist, a male drummer in the back, and a male guitarist with curly hair and glasses to the right.

A shirtless male musician with short, light brown hair singing into a microphone while playing an electric bass guitar on stage. In the background, a drummer is playing behind a drum set. Bright stage lights shine behind them, creating a vibrant concert atmosphere.

A man playing an electric guitar on stage during a live music performance.

A young man with curly hair sitting behind a black drum set on a stage, performing during an event supporting the Platform One College of Music. The backdrop displays the words 'PLATFORM ONE' and the logo of the college.

A young man playing an electric bass guitar on stage under red and yellow stage lights, with musical equipment like a keyboard and drums in the background.
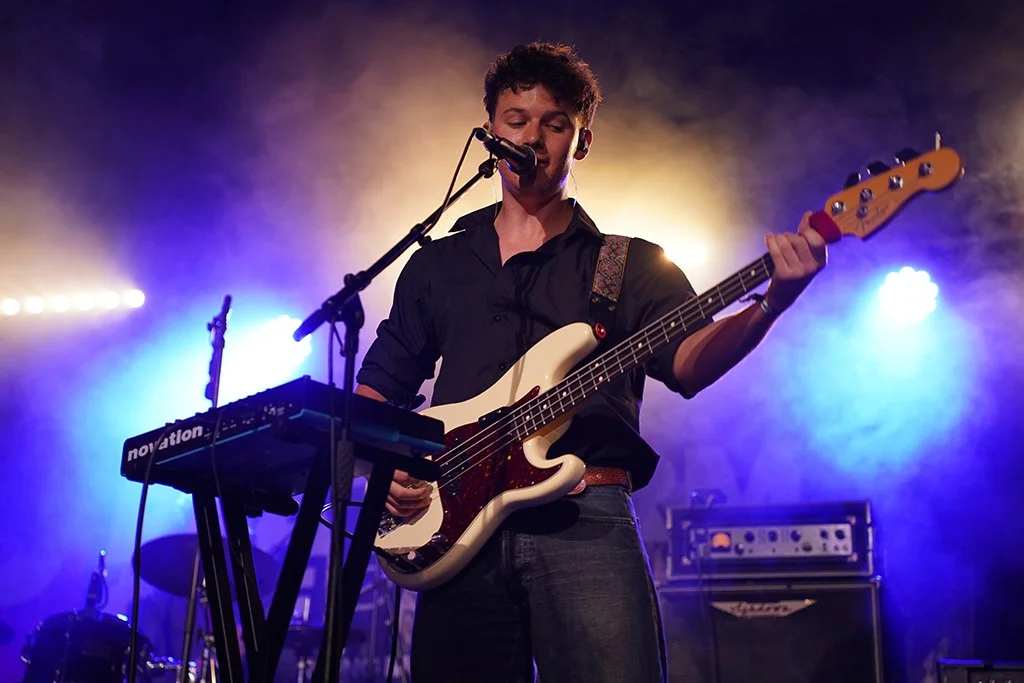
Young man performing on stage with a bass guitar, singing into a microphone, with colorful stage lighting and musical equipment in the background.
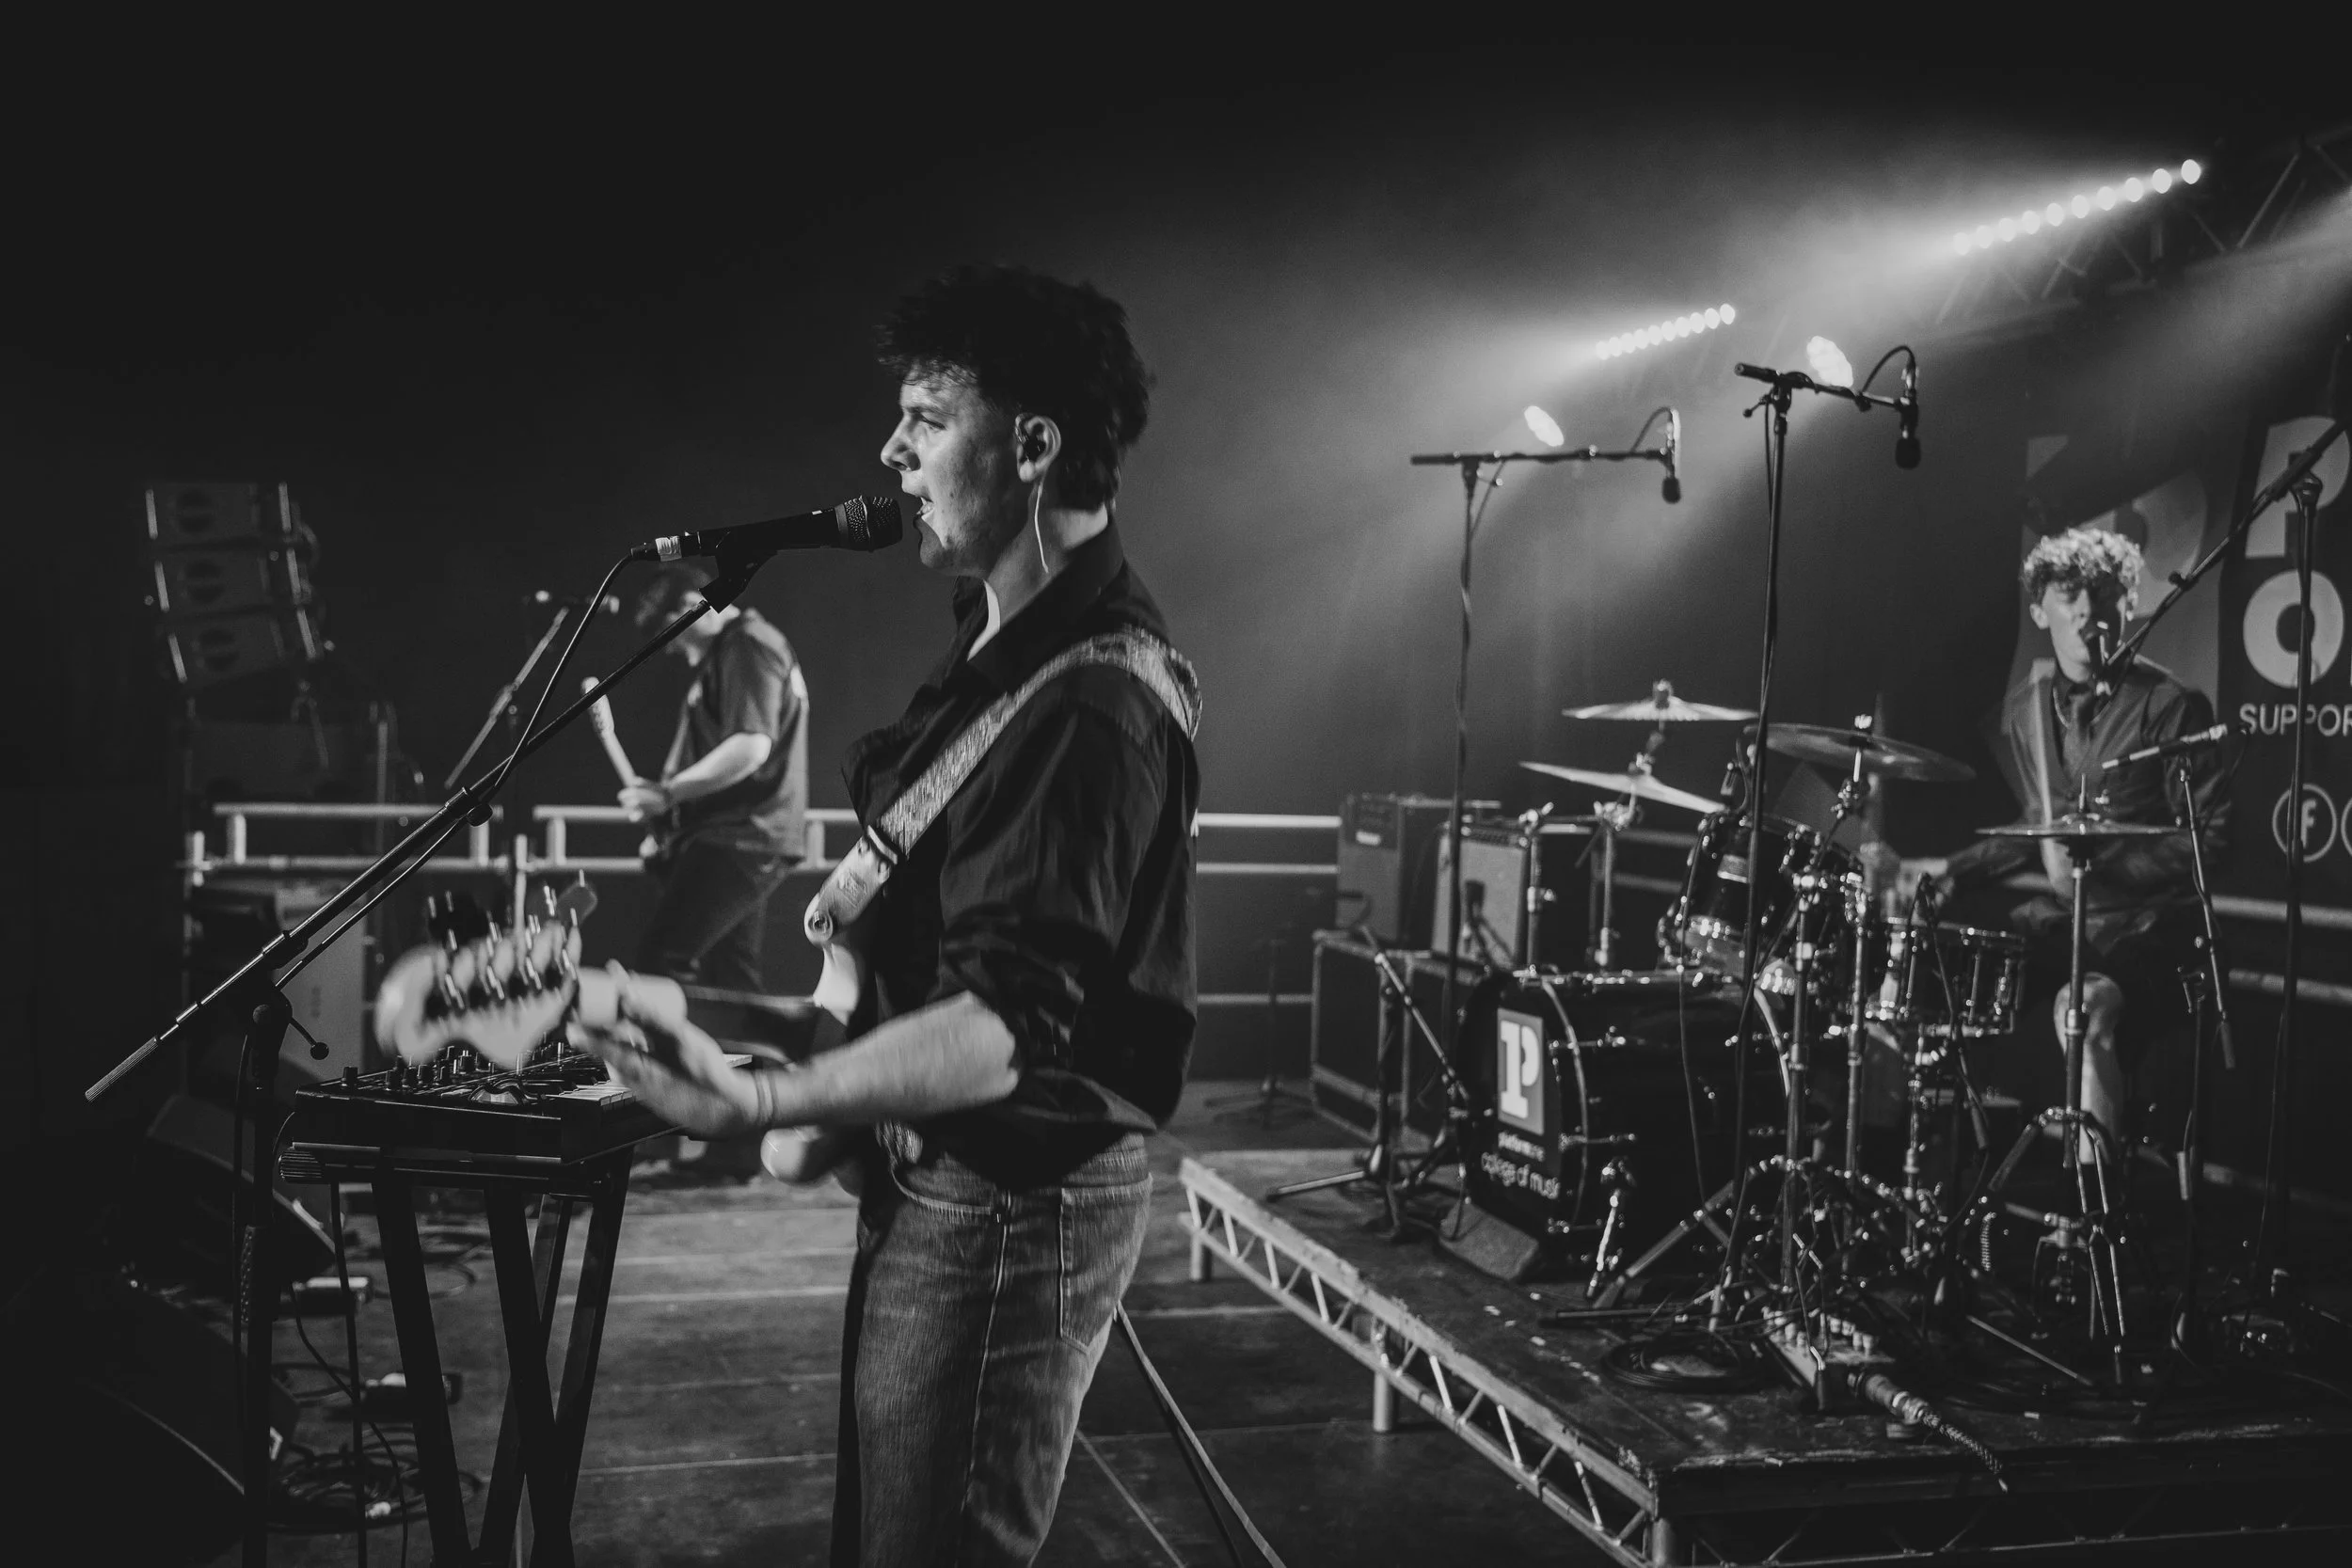
Black and white photo of a band performing on stage, with a guitarist and vocalist in the foreground, and a drummer and second vocalist in the background, all surrounded by musical equipment.

A man wearing a black cap backwards, a white t-shirt, and a watch, singing into a microphone on stage with bright yellow and purple lighting behind him.

A black and white photo of a band performing live on stage, with a female singer playing guitar and singing into a microphone, a guitarist, and a double bassist. The stage has lighting and a drum set in the background with a banner reading "Platform College of Music."

A woman performing on stage with a guitar and microphone, with a drum set in the background, in black and white.

Black and white photo of a musician playing an electric guitar on stage at a college of music event, with a drum kit in the background and stage lights overhead.

A young woman performing on stage with an acoustic guitar, singing into a microphone, with stage lights and equipment in the background.

A young woman with long brown hair plays the guitar and sings into a microphone on stage at an outdoor concert. She is wearing a white sleeveless top and a gray skirt. The audience, visible in the background, is watching her perform.

A male musician wearing glasses and a black cap is singing into a microphone while playing an orange electric guitar. There is a drummer in the background on stage with drum set and stage lights.

Black and white photo of a band performing on stage at a concert with an audience in front, some wearing sunglasses and hats.

A man with glasses and tattoos playing the drums on stage, wearing headphones and a cap.

A young woman playing a drum set on stage during a performance. The bass drum has the words 'platforme college of music' and a logo. There is a banner in the background with large text and a website link.

A live band performing on stage with a guitarist, bassist, and drummer under colorful stage lights.

A female musician with long hair and checkered Vans shoes performs with a bass guitar and microphone on stage at a live concert, with an audience visible in the background.

A female musician singing into a microphone while playing an electric bass guitar on stage in black and white.

Musicians performing on stage: a guitarist wearing sunglasses, a backwards cap, a plaid shirt, and ripped black jeans singing into a microphone, with a drummer in the background playing drums, backdrop featuring the Platform College of Music logo.

A young man in casual clothes, including a flannel shirt and shorts, squatting on stage, singing into a microphone during a rock concert. There are drums and amplifiers in the background.

Two male musicians performing on stage with electric guitars, one singing into a microphone, in a black-and-white concert photo.

A young male musician passionately singing into a microphone while playing an orange electric guitar on stage at a music festival, with a drummer in the background and stage lights overhead.

A black and white photograph of a band performing live on stage, consisting of two guitarists and a drummer. The guitarist on the left has curly hair and wears a T-shirt, singing into a microphone. The guitarist on the right has curly hair, wears a sleeveless shirt and cargo shorts, playing bass guitar. The drummer is in the background behind a drum kit. The stage features a banner that reads 'PLATFORM learning music.'

Black and white photo of a woman holding a microphone, singing or speaking, with her hair tied back, wearing earrings and a sports jersey.

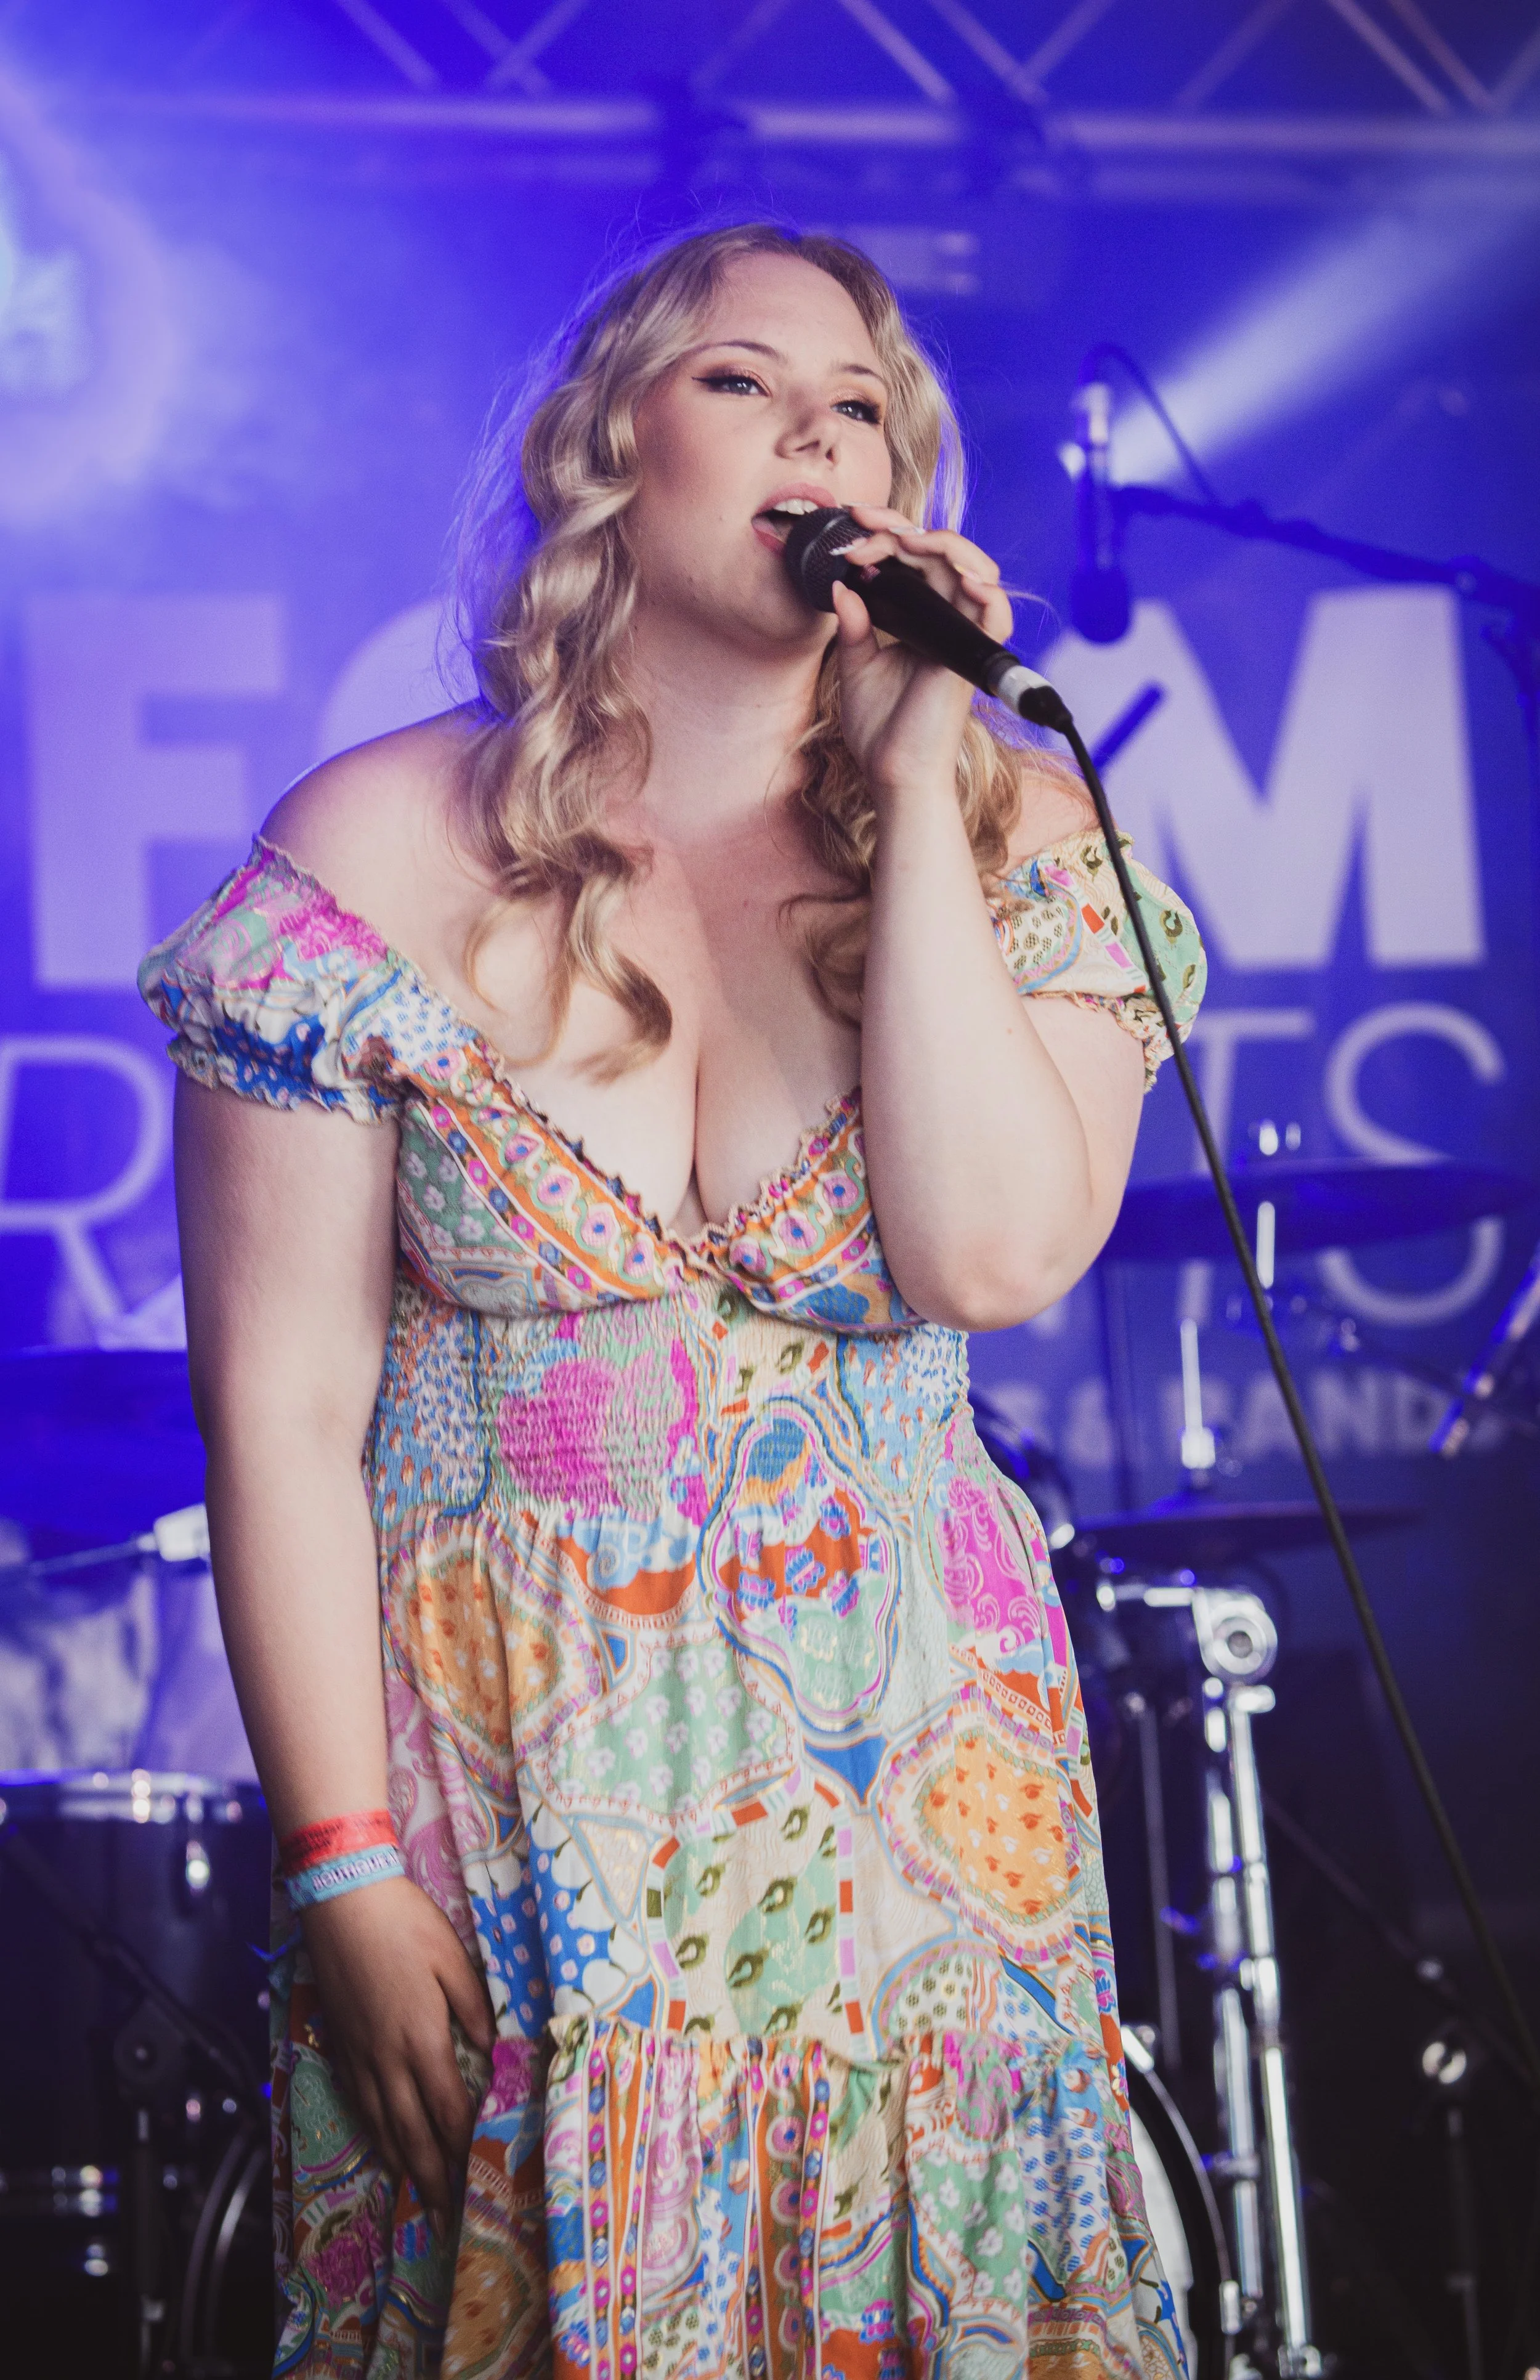
A young woman with blonde hair and a red lace top singing into a microphone on stage with purple lights in the background.

A woman playing an electric guitar on stage, wearing sunglasses and casual clothing, in a black and white photograph.

Black and white photo of a female musician singing into a microphone and playing an electric guitar on stage with a drummer in the background.

A black and white photo of a female singer performing on stage with a microphone, and a drummer behind her playing the drums at a music college event.

A bassist performing on stage with electronic equipment, in black and white.

Black and white photo of a female singer performing on stage with a microphone, against a background of stage lights and a partially visible sign.

A young woman with curly hair playing an orange electric guitar on stage at a concert or music festival, with stage lights and equipment in the background.

Isle of Wight musician Ruby performing on stage, holding a microphone, wearing a red and black lace top and black leather shorts with lace-up details, with stage lights in the background.

Ruby performing on stage, singing and playing an acoustic guitar.

Natalie Shay passionately into a microphone while playing an acoustic guitar, with a man in the background playing an electric guitar, on stage at a concert with blue lighting.

Natalie Shay playing an acoustic guitar and singing into a microphone on stage at the Isle of Wight Festival, with warm stage lighting.

Natalie Shay singing on stage at the Isle of Wight festival , wearing a sleeveless top and denim shorts, with stage lights shining behind her.

Natalie Shay performs on stage; the man plays an acoustic guitar, the woman sings into a microphone, both with eyes closed, colorful stage lights in background.

Natalie Shay musician performing on stage at the Isle of Wight festival playing a guitar, microphone, and drum set in the background, illuminated by colorful stage lights.

Two musicians performing on stage, one playing an electric guitar and singing into a microphone, the other also playing an electric guitar, with stage lights and drums in the background.

The Band Willowfly from the Isle of Wight playing an electric bass guitar on stage during a live music performance at the Isle of Wight Festival

A musician playing drums on stage with focused expression, illuminated by stage lights in a black and white photograph.

A shirtless male musician playing a guitar and singing into a microphone on stage, with a drummer in the background and stage lights creating a smoky atmosphere.

A young man with curly hair playing an electric guitar on stage during a performance.

Black and white photo of a band performing on stage at a music festival, with several musicians playing instruments and two women singing into microphones in front.

A black and white photo of a young woman playing a violin on stage, with stage lights and equipment in the background.

A person with short hair wearing sunglasses and a light-colored shirt, playing an electric guitar on stage with stage lights in the background.

A black-and-white photo of a band performing on stage, with a female vocalist in the center, holding a microphone. The band includes a drummer, a bass guitarist, and another singer. The stage has lighting and a banner in the background with partially visible text.

Black and white photo of a woman playing a keyboard with her eyes closed, and a band performing in the background on a stage.

A group of musicians performing on stage, including a woman playing a keyboard and another woman singing, with a man playing a bass guitar in the background, all enjoying the performance.

A young woman singing into a microphone on stage with a band in the background.
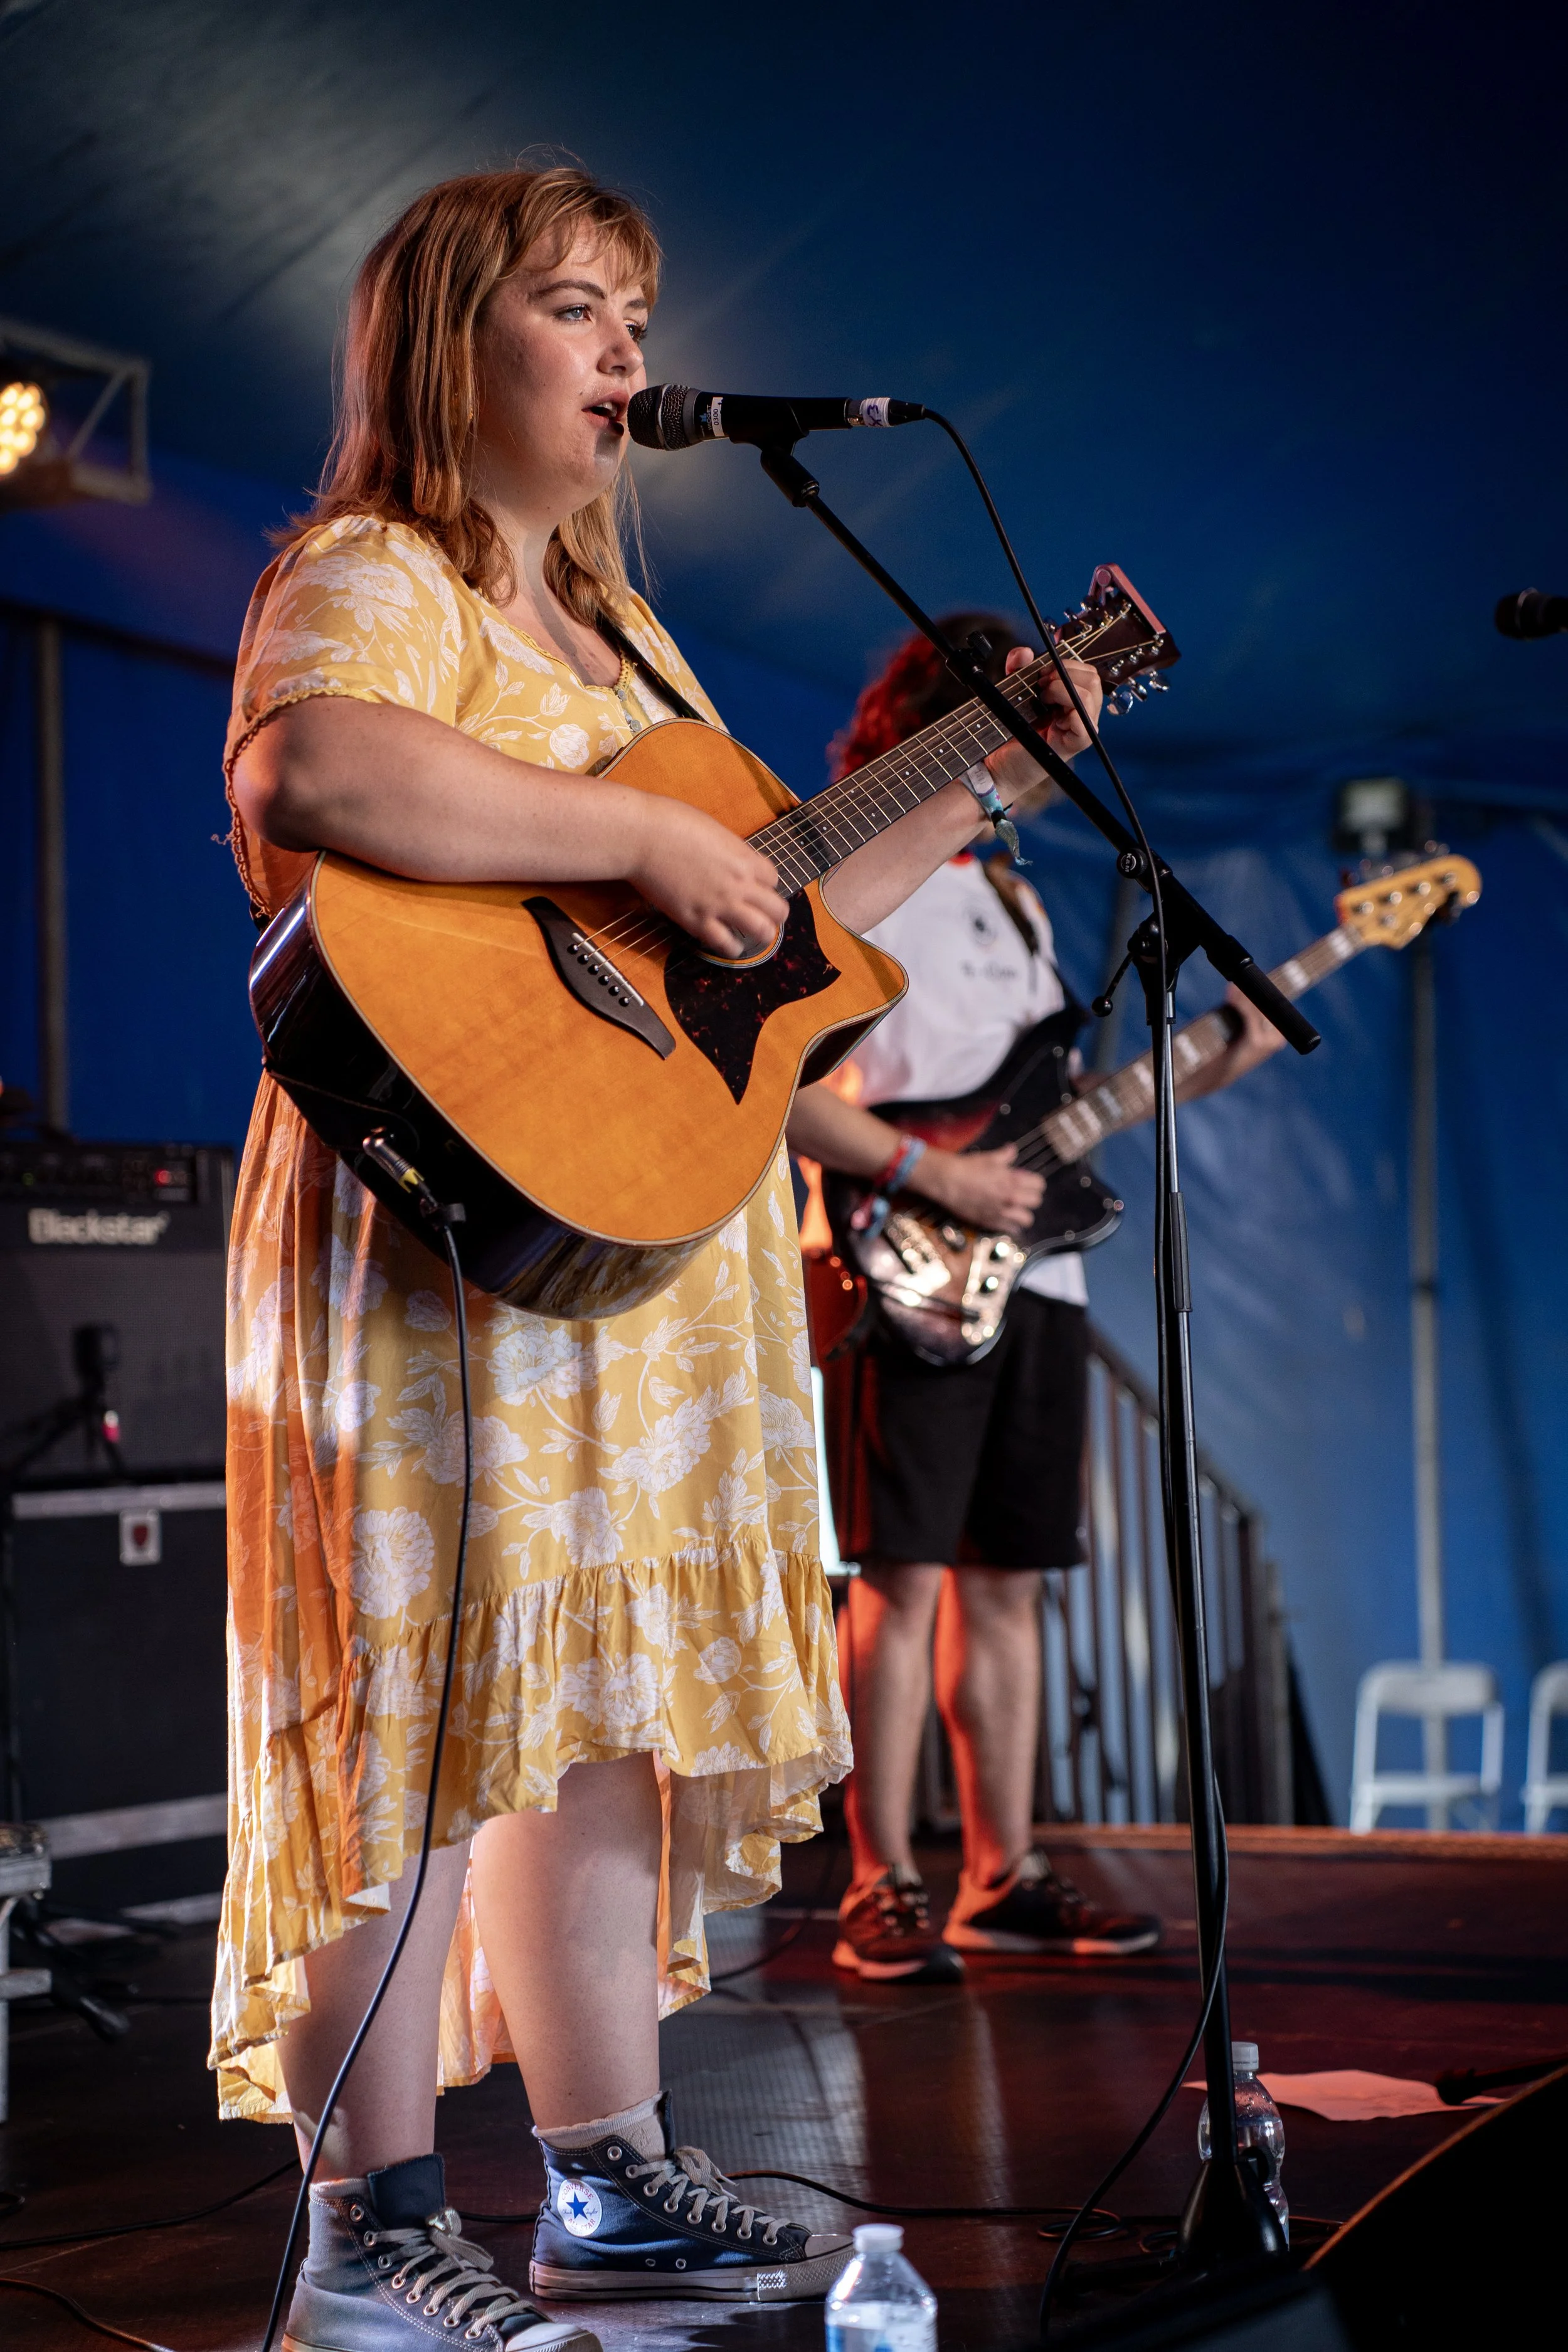
Amy Joliffe playing the Platform one stage at the Isle of Wight festival, with red hair in a yellow floral dress playing an acoustic guitar and singing into a microphone on stage, with a bassist in the background.

A band performing on stage at a music event, including a female singer with a guitar and a male guitarist with sunglasses and a beard, with drums and amplifiers in the background.

A male musician with sunglasses and a beard playing an electric guitar on stage during a concert.

Georgia Nicole playing the Platform one stage at the Isle of Wight festival singing on stage, wearing a strapless top and layered skirt with jewellery, with a drummer in the background and stage lights overhead.

Joe Thompson playing guitar on stage playing the Platform one stage at the Isle of Wight festival, wearing a yellow Pikachu hat, with stage lights in the background.

A female singer with red hair performing on stage, wearing a white dress with a black belt and gray boots, holding a microphone with her eyes closed amid colorful stage lights.

A young man singing into a microphone while playing an electric guitar on stage, wearing a t-shirt with the words 'FUTURE MILF' printed on it.

Georgia Nicole playing the Platform one stage at the Isle of Wight festival singing on stage, wearing a strapless top and layered skirt with jewellery.

Marnie Marie playing the Platform one stage at the Isle of Wight festival singing on stage, wearing a floral dress
Marnie Marie playing the Platform one stage at the Isle of Wight festival singing on stage, wearing a floral dress

The band Mokat performing, playing the Platform one stage at the Isle of Wight festival

The band Mokat performing, playing the Platform one stage at the Isle of Wight festival

The band Mokat performing, playing the Platform one stage at the Isle of Wight festival

The band Mokat bassist performing, playing the Platform one stage at the Isle of Wight festival wearing a pink floral dress and fishnet stockings plays a bass guitar on stage, illuminated by pink and purple stage lights.

Musicians performing on stage at a concert, with an audience watching. The image is in black and white, showing a guitarist and a vocalist, with stage equipment and lighting visible.

A male musician with dark, spiky hair wearing yellow sunglasses and a patterned shirt, playing a red electric guitar on stage with a microphone and drum set in the background.

A black and white photo of a four-member band performing on stage with guitars and drums, with stage lighting and equipment visible in the background.

A musician wearing sunglasses and a football jersey playing an electric bass guitar on stage with colorful lights and a drum set in the background.

A black and white photo of a long-haired male guitarist performing on stage, smiling and playing an electric guitar.

A male singer passionately performs on stage, holding a microphone with both hands, wearing a distressed beige t-shirt, with purple and blue stage lighting and a guitarist in the background.

A black and white photo of a young male singer performing on stage, holding a microphone close to his mouth, with a drummer playing in the background, during a live music event.

A drummer playing a drum set on stage, wearing sunglasses and a dark t-shirt, with a blue background and stage equipment.
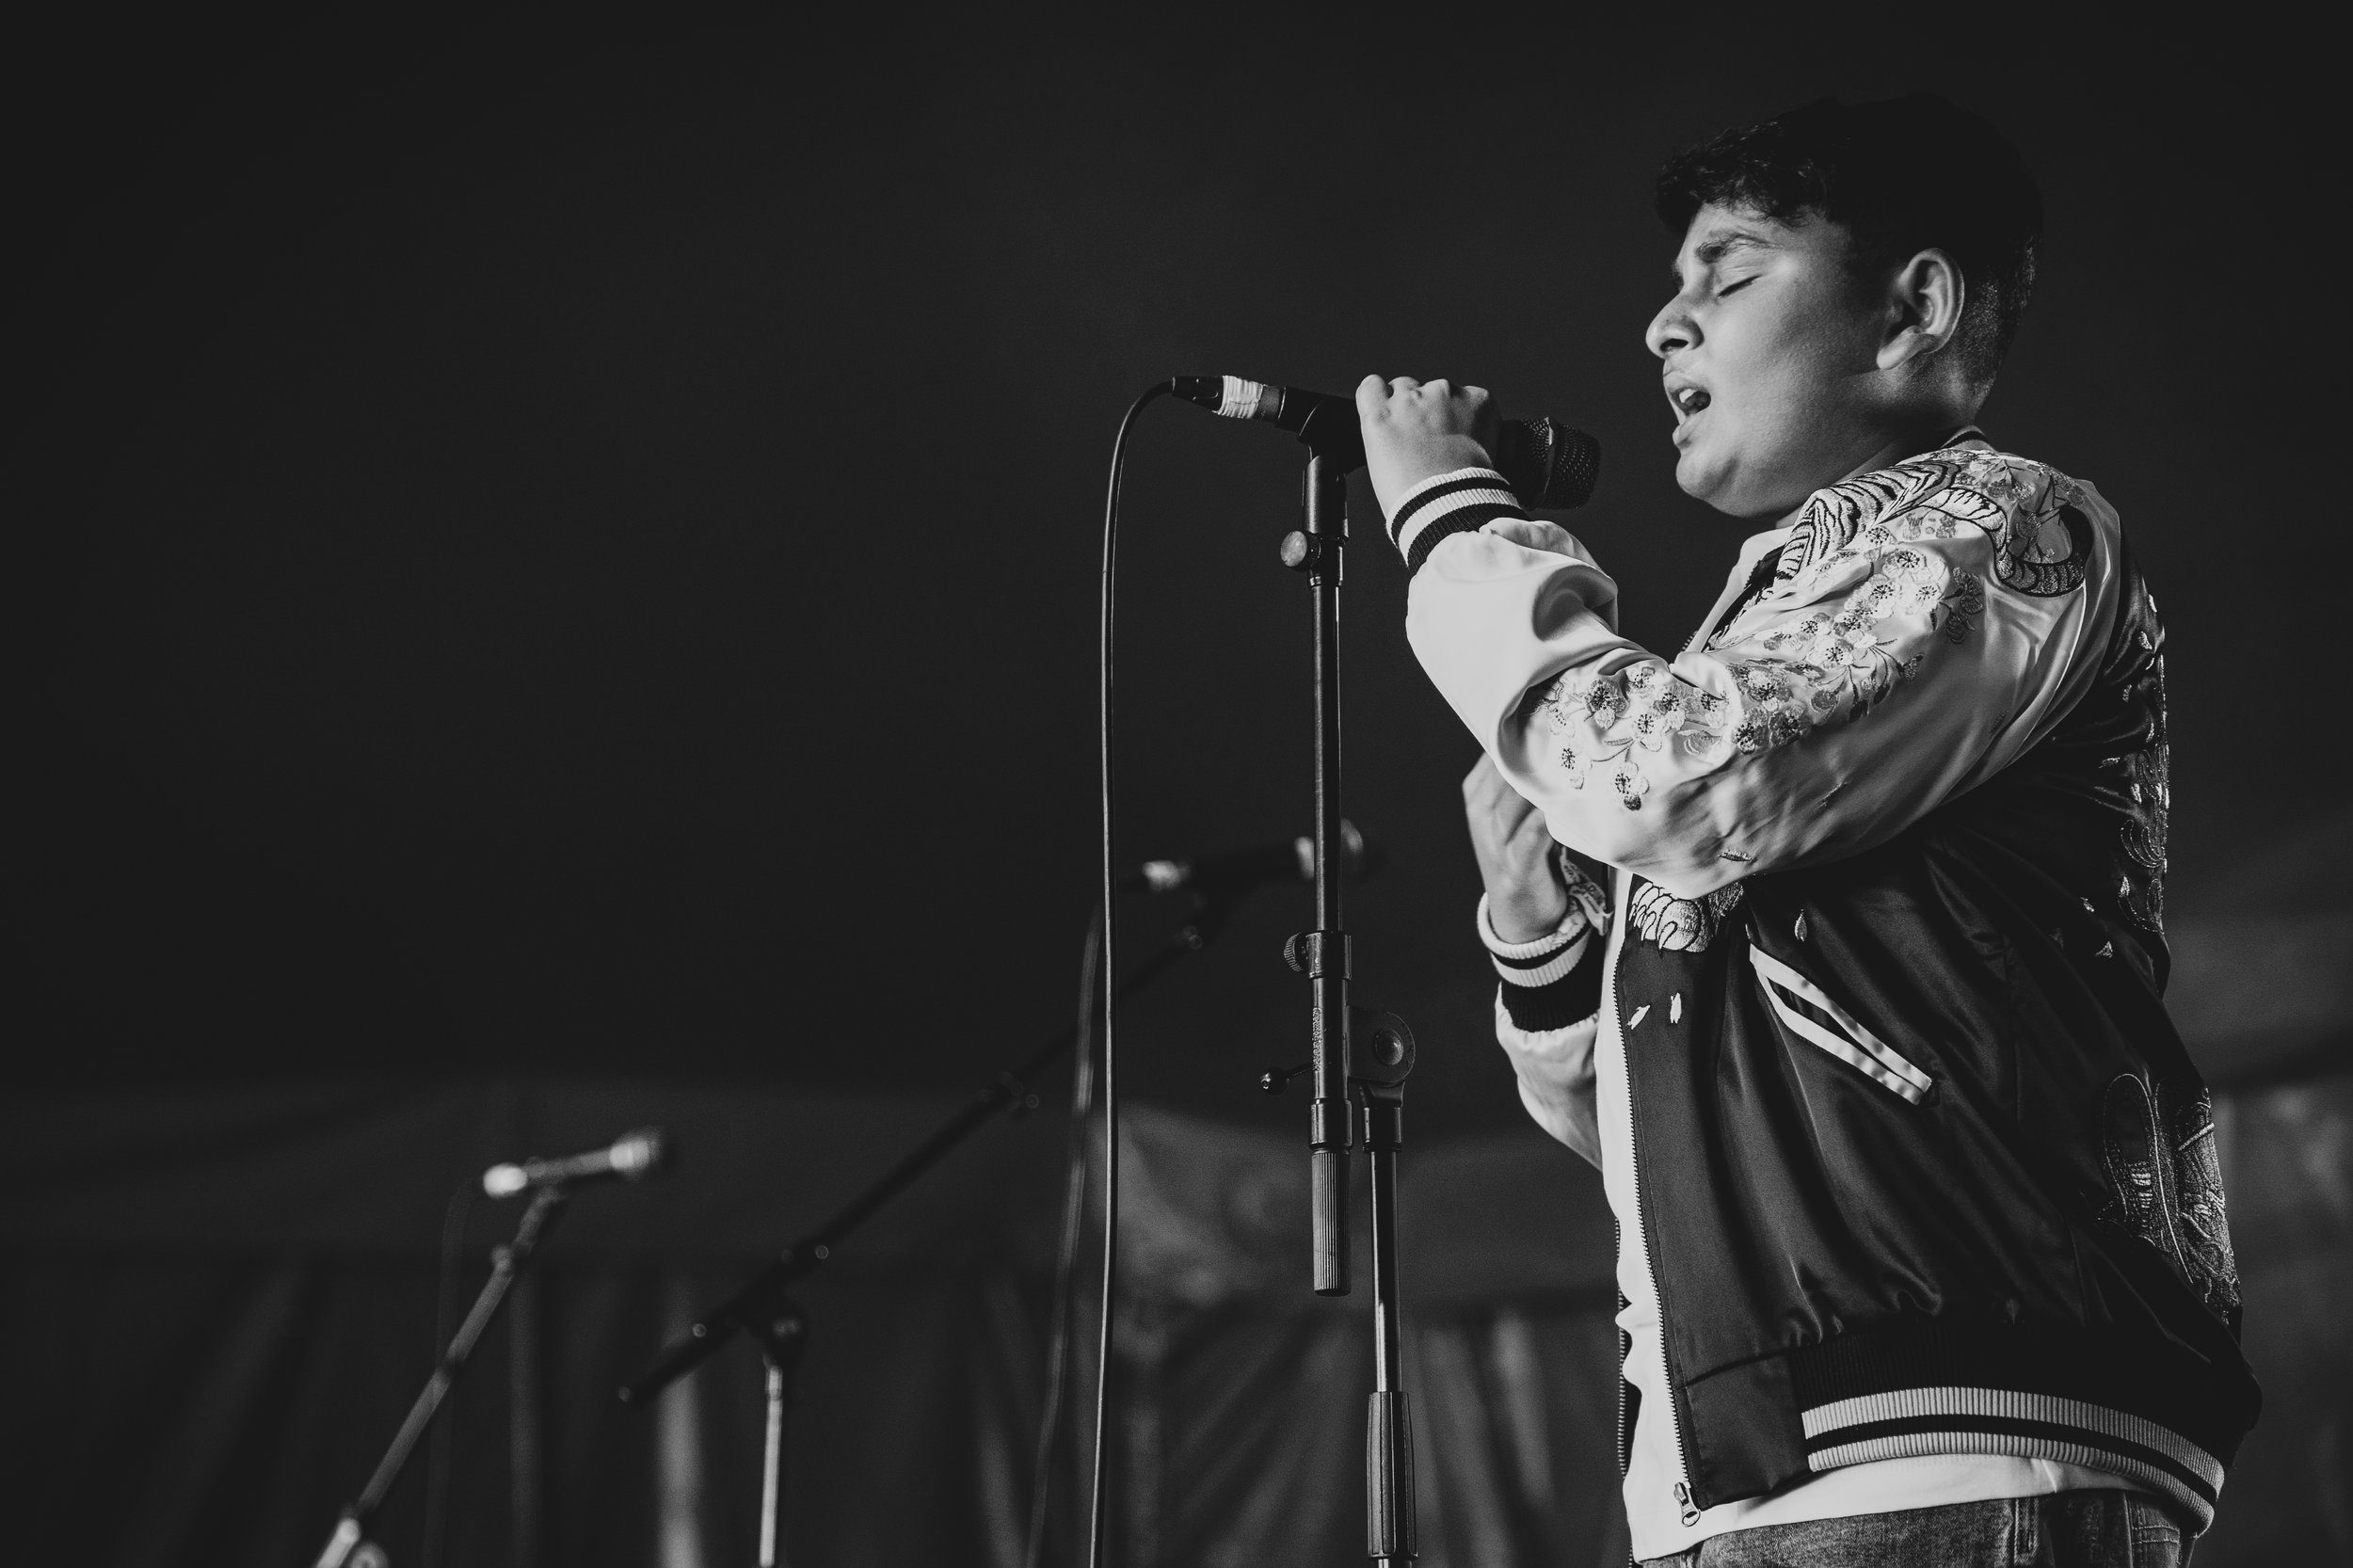
A young man singing into a microphone on stage, with closed eyes and wearing a jacket with floral embroidery.
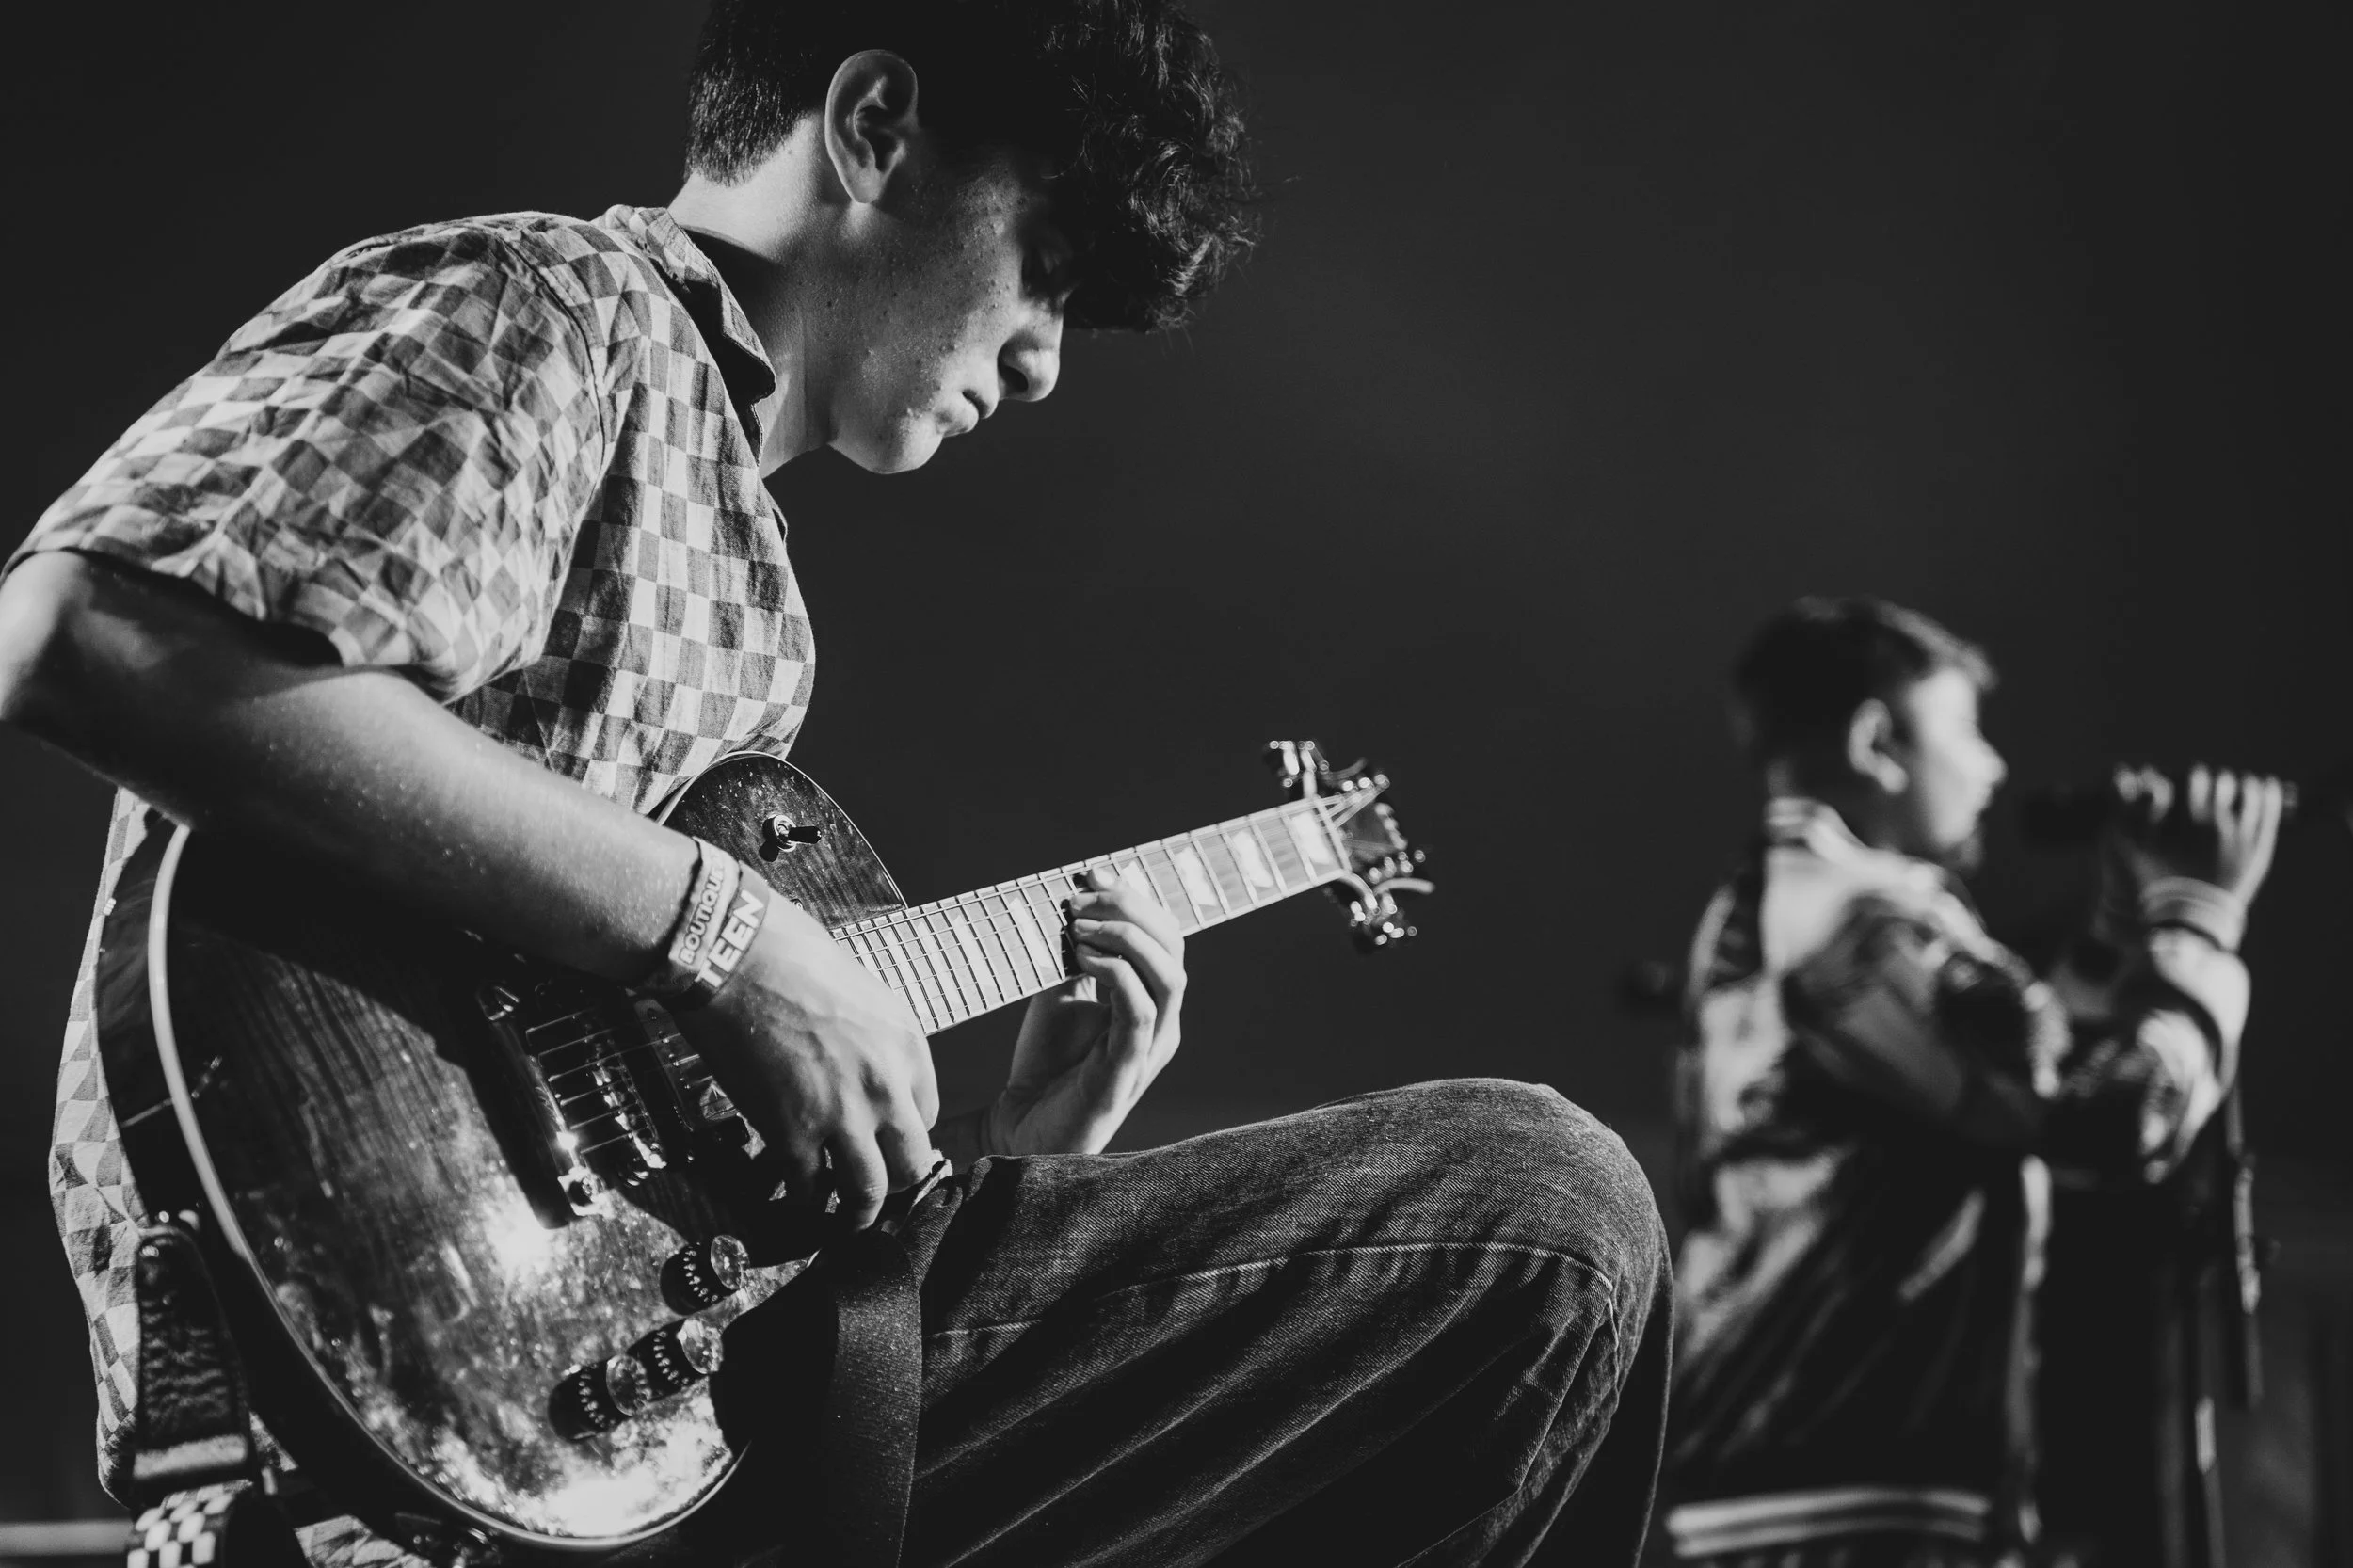
A young man playing an electric guitar on stage with another young man holding a microphone in the background.